 Save
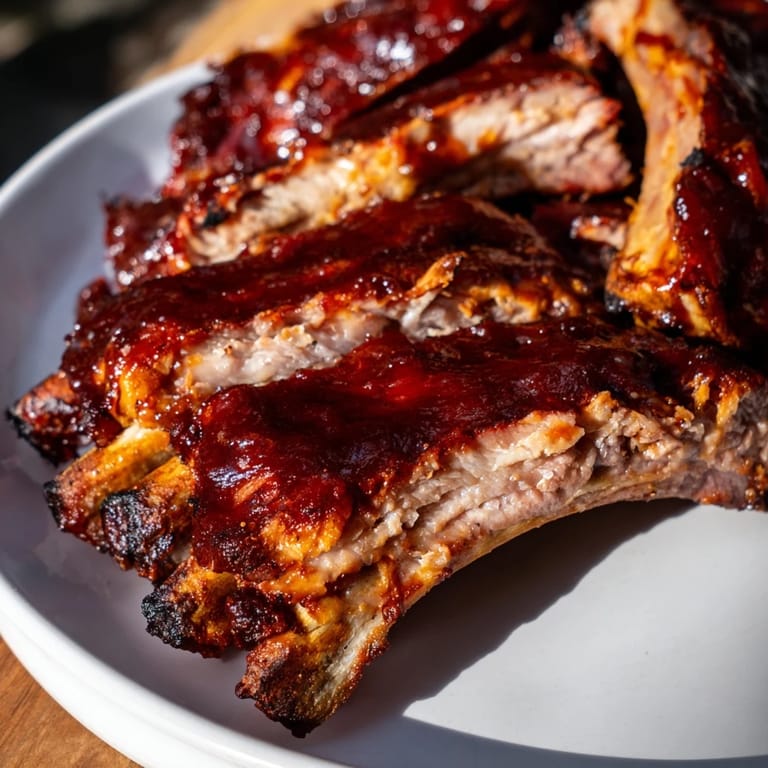
Save My dad taught me the real secret to BBQ ribs years ago while we stood in his backyard on a humid summer afternoon, watching smoke curl from an old oil drum he'd converted into a smoker. He said the magic wasn't just in the sauce—it was in patience and low heat, letting time do what rushing never could. That lesson stuck with me, and now whenever I pull a tray of ribs from the oven, their bones practically sliding free from tender meat, I hear his voice reminding me that good food is about rhythm, not speed.
I made these ribs for my sister's backyard birthday party last spring, and watching everyone's faces when they bit through that caramelized glaze into the tender meat underneath—that moment made me realize how cooking something with care is its own kind of gift. She still texts me asking for the recipe whenever she's planning a gathering.
Ingredients
- Pork or beef ribs, 1.5–2 kg (3–4 lbs): The foundation of everything—look for ribs with good color and visible marbling, as they'll stay juicier through the long, slow cook.
- Olive oil, 2 tbsp: This helps the dry rub stick and creates a slight seal that locks in moisture.
- Brown sugar, 2 tbsp: It caramelizes during cooking, creating that glossy finish and subtle sweetness that balances the smoky spices.
- Smoked paprika, 1 tbsp: This is where the barbecue soul lives—use quality paprika if you can, as it makes a real difference in depth.
- Garlic powder, 1 tsp: Adds savory undertones without overpowering the other flavors.
- Onion powder, 1 tsp: Works quietly in the background, rounding out the spice blend with umami.
- Ground black pepper, 1 tsp: Freshly ground is noticeably better here if you have a grinder.
- Salt, 1 tsp: Enhances every other flavor and draws out moisture for better browning.
- Cayenne pepper, ½ tsp (optional): A whisper of heat that you can skip if you prefer mild, or double if you like a kick.
- Barbecue sauce, 1 cup: Whether store-bought or homemade, this is your final glaze—pick one you'd actually eat on its own.
- Honey, 2 tbsp: Adds shine and caramelization; maple syrup works beautifully if you want earthiness instead.
- Apple cider vinegar, 1 tbsp: A small amount brightens the sauce and cuts through the richness of the meat.
Tired of Takeout? 🥡
Get 10 meals you can make faster than delivery arrives. Seriously.
One email. No spam. Unsubscribe anytime.
Instructions
- Prepare and preheat:
- Set your oven to 150°C (300°F) and line a large baking sheet with aluminum foil—this setup makes cleanup almost effortless and lets the heat circulate evenly around the ribs. The low temperature is key; this isn't a high-heat situation.
- Membrane removal and drying:
- Flip the ribs over and look for that thin, papery membrane on the back—pull it off with your fingers or the tip of a knife, as it keeps the rub from penetrating. Pat the meat dry with paper towels so the rub actually clings instead of sliding around.
- Oil and seasoning:
- Rub olive oil all over both sides of the ribs like you're giving them a massage, then mix your dry ingredients in a bowl and coat the ribs evenly, making sure to get into the crevices. Don't be shy—the rub is where half the flavor comes from.
- Wrap and bake:
- Place ribs meat-side up on your foil-lined sheet, cover tightly with more foil, and slide them into the oven for 2 to 2½ hours. You're braising them gently in their own steam and rendered fat, which is what makes them so impossibly tender.
- Prepare the glaze:
- While the ribs are baking, stir together your barbecue sauce, honey, and apple cider vinegar in a small bowl—taste it and adjust to your preference, because this is your finishing touch.
- Finish with heat and glaze:
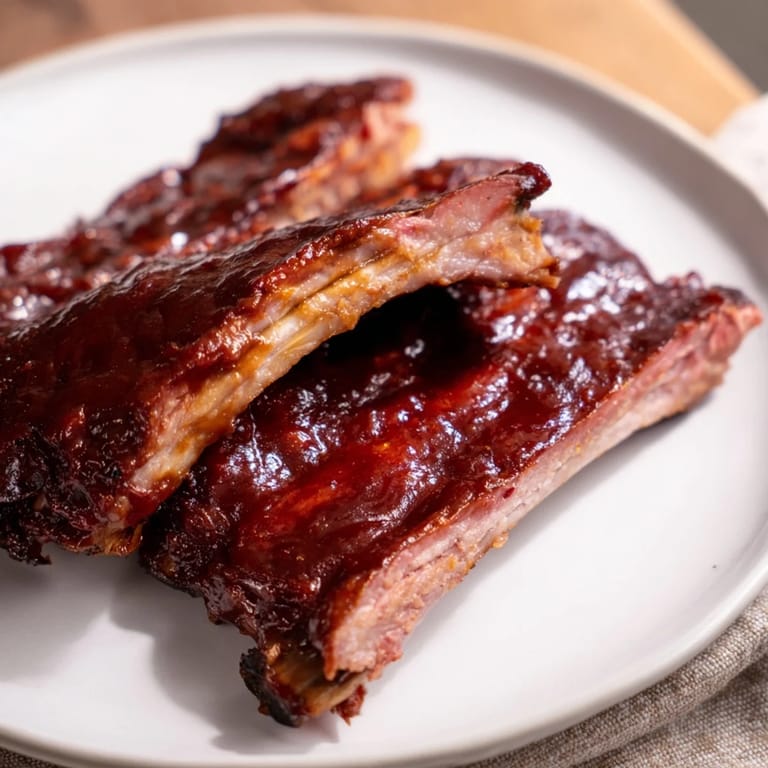
- After 2 to 2½ hours, remove the foil and bump your oven to 220°C (425°F) (or heat up a grill), then brush the ribs generously with your glaze. Return them uncovered for 10 to 15 minutes, basting once halfway through, until the glaze caramelizes and turns sticky and shiny.
- Rest and serve:
- Let them rest for 5 minutes—this keeps the juices from running out the moment you cut them—then slice between the bones and serve with extra sauce on the side for dipping.
 Save
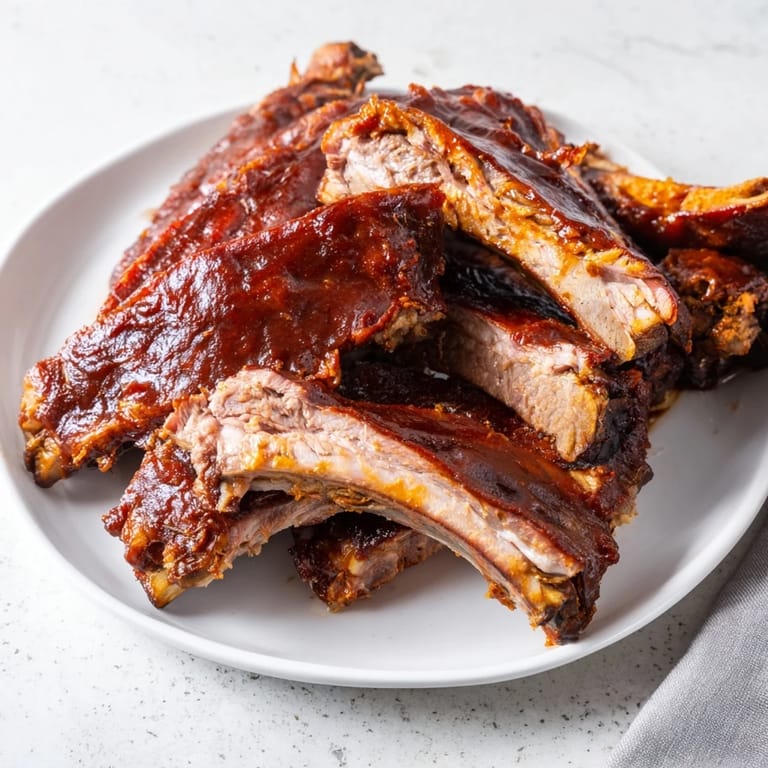
Save I remember the quiet moment before my brother and his family arrived for dinner, standing at the counter and watching the glaze bubbling and turning amber in the oven light, knowing that in just a few minutes the kitchen would be full of noise and laughter and hands reaching for another rib. That's when this recipe stopped being about technique and became about bringing people together.
Grilling vs. Oven Cooking
You can absolutely finish these ribs on a grill instead of under the oven's broiler—just move them to indirect heat (away from direct flames) and watch them closely so the glaze doesn't char. Grilling adds a different kind of smoke and char that's wonderful if you have the time and equipment. The oven method is more forgiving and works year-round, no matter the weather.
Building Your Own Barbecue Sauce
If you want to skip store-bought sauce entirely, you can make a simple one by combining ketchup, brown sugar, Worcestershire sauce, mustard, and a splash of apple cider vinegar, simmered together for 5 minutes. Homemade sauce lets you control the sweetness and smokiness, and honestly, once you've made it once, you'll realize how easy it is. Some people swear by adding a bit of liquid smoke for extra depth, though it's entirely optional.
Serving and Storage
These ribs are best served fresh and still warm, with coleslaw to cut through the richness and cornbread to soak up the sauce. Leftovers keep for up to three days in the refrigerator and reheat beautifully—just warm them gently, covered, so they don't dry out.
- Serve with extra sauce on the side; people always want more than you think they will.
- Have napkins or wet wipes ready, because these ribs demand a slightly messy, happy meal.
- If you're cooking for a crowd, you can prep the ribs through the first bake earlier in the day and finish the glaze step just before people arrive.
 Save
Save Making ribs is as much about the smell and the anticipation as it is about the eating, and that's exactly how it should be. Serve them with pride and watch people's faces light up the same way mine does every time.
Recipe FAQs
- → How do I make ribs tender and juicy?
Slow cooking ribs at a low temperature allows the connective tissues to break down, resulting in tender, juicy meat that easily pulls from the bone.
- → What can I use to add smoky flavor to ribs?
Using smoked paprika in the dry rub and finishing with a smoky barbecue glaze enhances the ribs with a rich, smoky taste.
- → Is it necessary to remove the membrane from ribs?
Removing the thin membrane from the back of ribs helps seasonings penetrate better and makes the ribs more tender.
- → Can I grill ribs after baking?
Yes, grilling the ribs after baking over indirect heat adds extra smoky flavor and caramelizes the sauce beautifully.
- → What sides complement these smoky ribs well?
Classic pairings include coleslaw, cornbread, and baked beans, balancing smoky richness with fresh and sweet flavors.